REMOVING THE RADIATOR

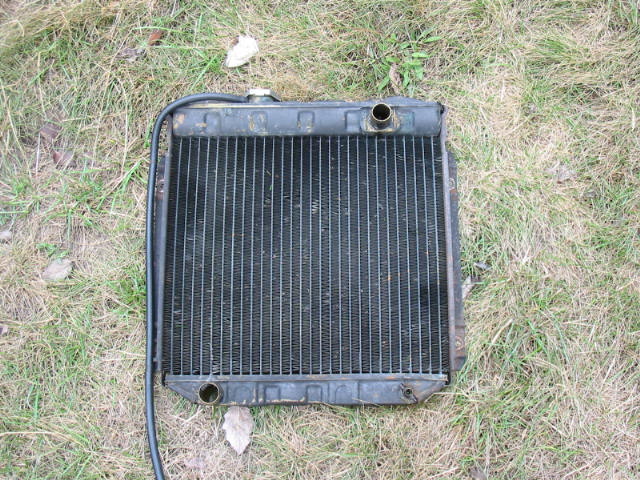
Removing the radiator is a very simple task. It is best (and safest) accomplished when the radiator is COOL!!!!

TOOLS NEEDED:
5 gallon catch pan
Flathead screw driver
1/2" Socket with 3 inch extension

1) Place a catch pan under the petcock valve. Open the pet cock valve all the way. Remove the radiator cap to allow it to drain quicker.


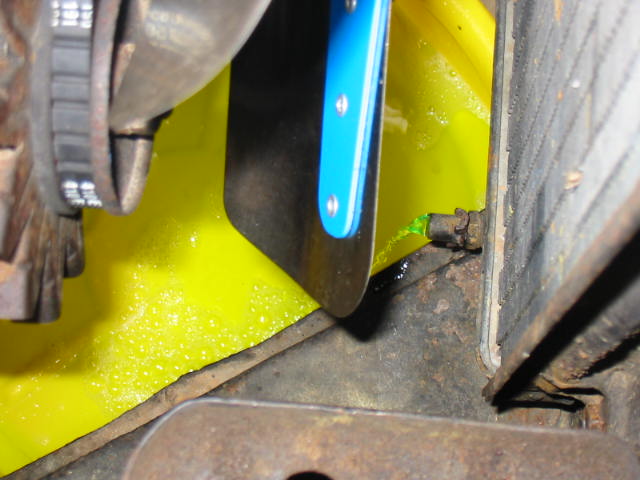
2) As the flow from the pet cock slows down (1-2 minutes), close the pet cock valve.

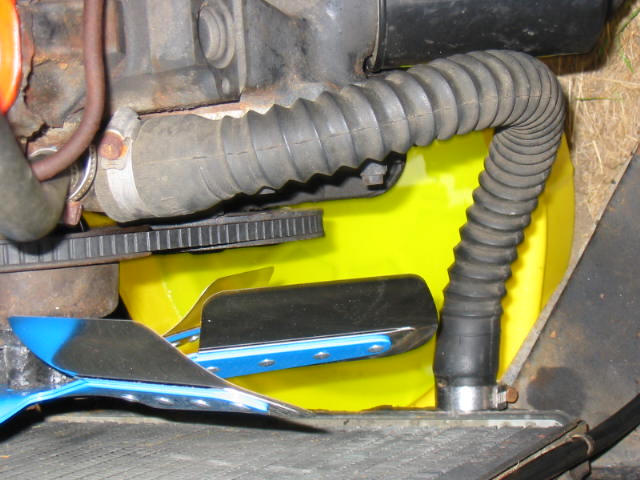
3) Loosen the screw on the lower radiator hose. If you can, slide the clamp up to the water pump to keep it from dropping into the catch pan (no harm done if it does drop, just trying to minimize the mess).

4) Remove the lower Radiator hose from the radiator and allow to drain. It will drain very quickly to be prepared.
5) Remove the 4 bolts holding the radiator in place (2 on each side). It is easiest to remove the lower 2 bolts first. Loosen one of the upper bolts until it is finger loose. Then loosen the other upper bolt until finger loose. Then with one hand hold the radiator and remove the upper bolts with the other hand.
6) Pull the radiator carefully out of the compartment. Place the cap back on the radiator and place on the ground. The cap will keep any fluid left in the radiator from draining out so long as you place it with the inlet/outlet ports up.