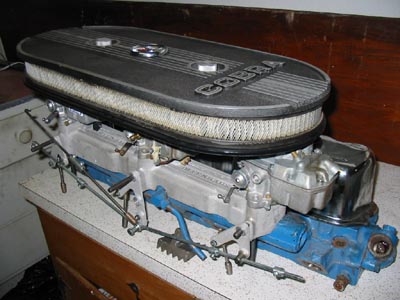
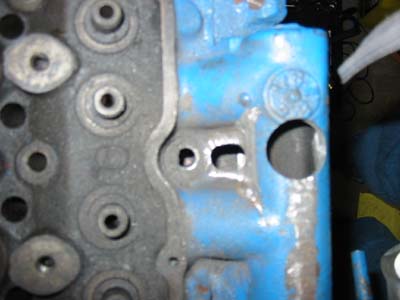
Offenhauser Intake Modifications
These are (In My Opinion) a better set of instructions to follow when attaching the Offenhauser Intake 3-1V adaptor to your Inline 6.
Tools:
Dremel (not required, but will make things easier)
Dremel Bits for metal filing and polishing
File (if you don't have a Dremel)
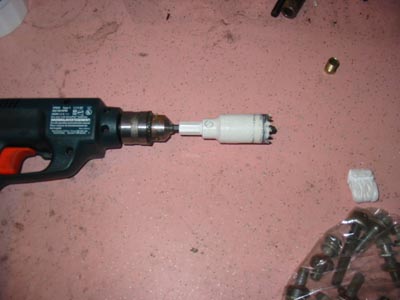
Drill w/ Hole cutter. Size of hole cutter may vary depending upon application.
Easiest way to find the right size is to take the intake with you to the
hardward store and get the BIMETAL hole cutter for the hole on the bottom
on the intake.
DUST MASK!!!
EYE PROTECTION!!!!!
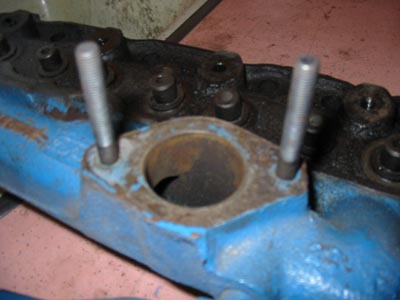
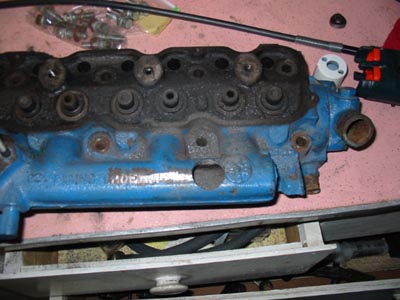
Step 4:
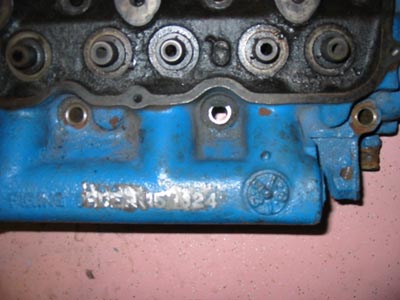
This is where I deviate from the instructions given with the Offenhauser. Attach two of the mounting studs to the intake log.
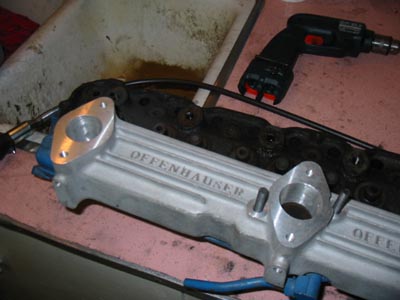
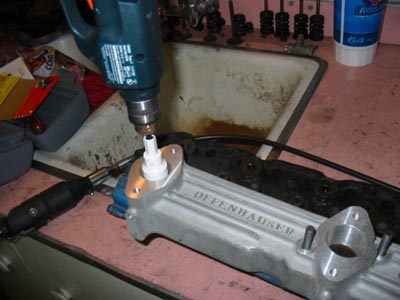
Step 5:
Place Offenhauser intake on the intake log.
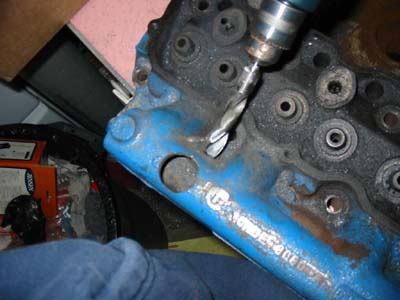
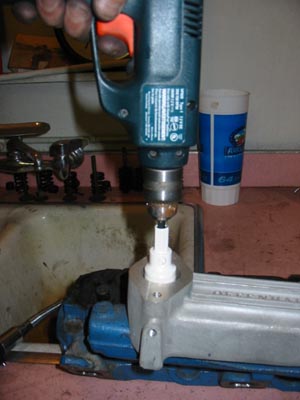
Step 6:
With the adaptor in place, drill out the intake log. I did it this way because even with a pilot bit I was afraid I would not be able to make a good hole on center. I did it this way so I know it would line up properly.
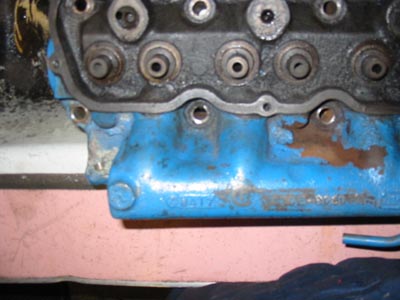
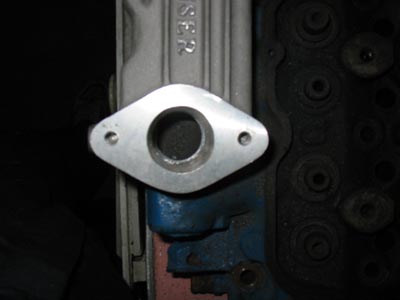
Step 6:
Here is the hole. Repeat for the other side.
Step 7:
Dream about what it will look like when done