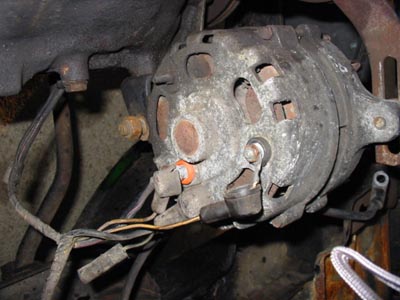
Step 8:
Remove All attaching wires and hoses. Look for alternator wires, starter
wires, ignition wires, etc.
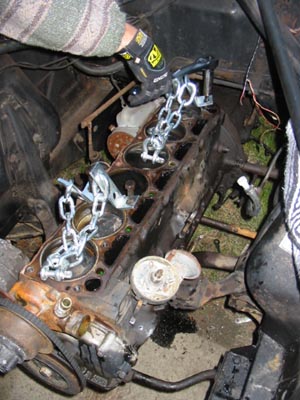
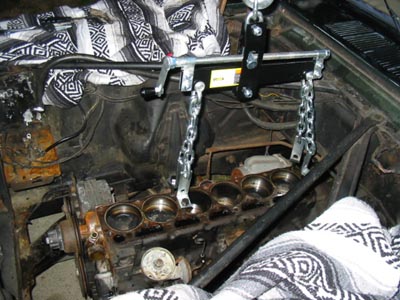
Step 9:
Attach Load Leveler. Since we were removing both engine and transmission the load leveler was placed further back to make it easier to move around. For the 200 I6, the front part of the leveler was placed on the 3rd set of head bolts from the front. The rear part of the leveler were placed on the last set of head bolts.
Step 10:
Remove Speedocable from the Transmission (not neccesary if you are not removing the transmission)
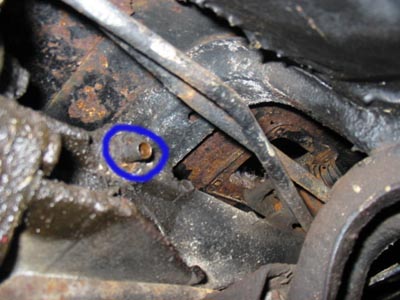
Step 11:
Remove transmission from transmission crossmember. Two ways. You can try removing the crossmember bolts from the frame (highlighted in blue). This did not work for me since the crossmember bolts were too rusted. I opted to just remove the transmission from the mount by removing the bolts on the bottom of the crossmember.
You may want to drain the transmission fluid at this point or have a plug ready. Otherwise you will have a lot of fluid leak out.

Step 12:
Take up slack in hoist and load leveler. You may actually want to hoist the car up slightly (just when it starts to move). This will help with step 13.
Step 13:
Detach the engine from the engine mounts
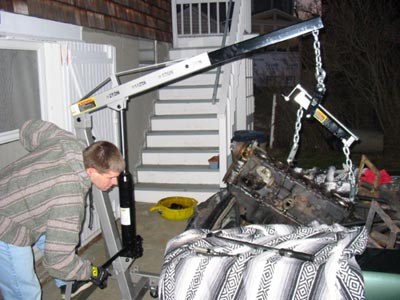
Step 14:
Carefully lift and remove engine. BE PATIENT. This is when it is nice having a friend (like the one in the picture). Sometimes it takes 2 people to manuever the engine out of the bay.
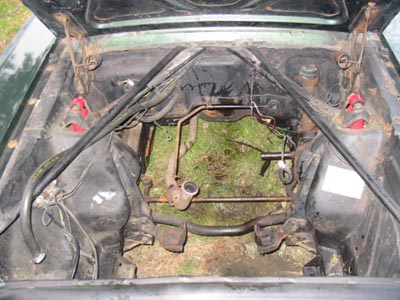
Step 15:
Sit back...have a beer...and admire your work.
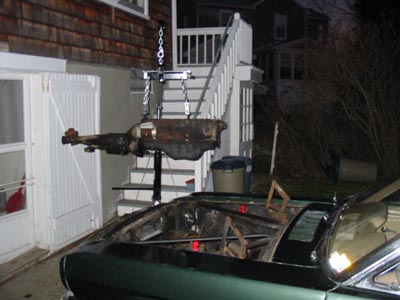
This is what it looks like after